These are just things I’ve noticed regarding the encounter rate in Final Fantasy III 3D on Steam. These have not been tested thoroughly, so I’m curious to know others’ experiences have been and/or if they have hard data on how encounter rates work.
The biggest thing is: walking and running seem to cause a difference both in encounter rate and what monsters the party encounters.
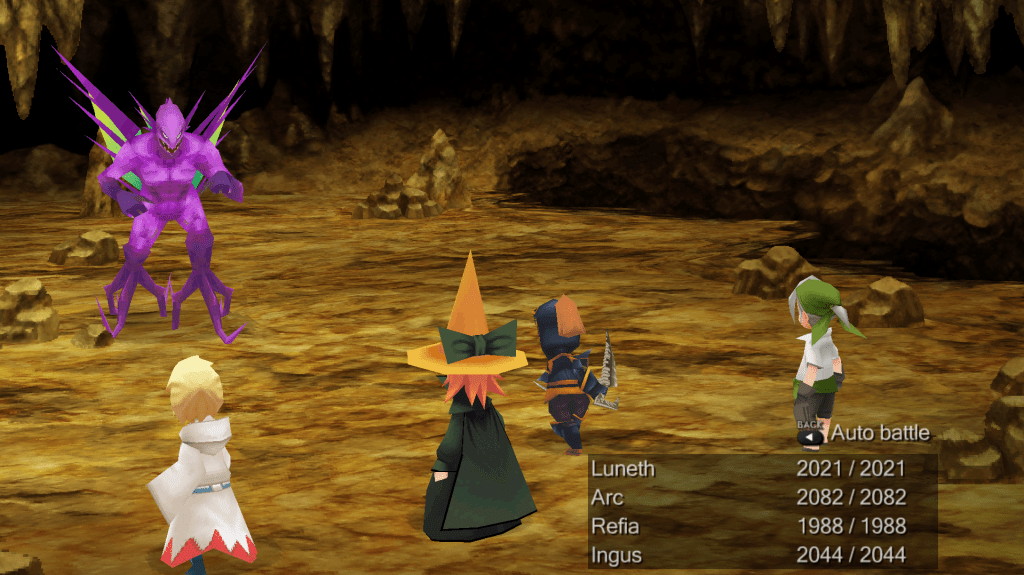
Cases in point: the monsters Parademon on the world map and Nemesis Demon in Doga’s Grotto.
In the case of Parademon, I don’t remember how I got it to appear? I wrote something about running v. walking on the worldmap when I initially posted this, but when I tried to run/walk on the world map, only walking was an option. There’s a possibility I ran a Chocobo around the floating continent twice, and then hopped off in the area many pages claim it spawns (the southern edge of the floating continent). W/R/T Nemesis, I took the party directly to the bosses’ door in Doga’s Grotto, while running, and ran back out to the world map. Zero Nemeses were encountered. Upon re-entry, I had my party walk instead of run, and then I encountered two on the return trip down. I encountered one set of three Parademons in the first area and one set of three in the third area.
As far as actual encounter rates overall as opposed to encounter tables is concerned (what monsters a player may face as opposed to how often they might face a monster), the walking v. running thing is simply a hunch. I haven’t actually tested it they way I did with Parademon, and then Nemesis. Obviously there are going to be differences between how that the world map and in dungeon crawls. Also, I think another example of this might be the Pterodactyl in the Temple of Time, but I could be wrong (according to username Seferaga’s guide on GameFAQs, the Pterodactyl and similar monsters have a 10% encounter rate). Monsters marked similarly in the guide and in the Bestiary guide on Steam (linked below) where this could be tested are as follows:
- #053 Fury (Tower of Owen, area 1… with the frogs)
- #064 Adamantoise (Molten Cave, area 4)
- #070 Dullahan (Castle Hein, area 3A, the left door in area 3 with a treasure chest containing a Bomb Fragment)
- #075 Cockatrice (Cave of Tides, area 2)
- #079 Agaliarept (Cave of TIdes, area 4)
- #083 Stroper (Amur Sewer, area 4)
- #089 Lost Gold (Goldor Manor, the library)
- #109 Flyer Mage (Cave of the Circle, area 3)
- #120 Aegir (Sunken Cave, area 2)
- #125 Balor (Saronia Catacombs, areas 2 & 4)
- #129 Pterodactyl (Temple of Time, Noah’s Lute room)
- #131 Behemoth (Temple of Time, areas 3 & 3B; 3B contains Diamond Gloves and a Behemoth Knife)
- #133 Dragon (Temple of TIme, areas 3A & 3C; the other treasure rooms off area 3)
- #135 Silenus (Cave of Shadows, areas 3 & 4)
- #136 Gaap (Cave of Shadows, areas 3 & 4)
- #147 Queen Lamia (Bahamut’s Lair, area 3)
- #148 Zombie Dragon (Ancient Ruins, areas 4-7)
- #149 Death Claw (Cave of Shadows, areas 6 & 7)
- #153 Haniel (Cave of Shadows, areas 6 & 7)
- #169 King Behemoth (Ancients’ Maze, area 5)
- #185 Yellow Dragon (Crystal Tower, area 5)
- #186 Green Dragon (Crystal Tower, area 6)
- #187 Red Dragon (Crystal Tower, area 7)
- #192 Hydra (World of Darkness, Cloud of Darkness area)
- #194 Garm (World of Darkness, SE Portal/Echidna area)
Notes:
- Certain monsters listed are in “missable” areas such as Hein’s Castle.
- The areas listed above are areas in which those monsters are considered “rare” or have an encounter rate listed as 10% or less in Seferaga’s GameFAQs guide.
- The purpose for me is finding out whether or not walking or running makes a difference for both overall encounter rate and what monsters show up in encounters, and how walking and running impacts both
- King Behemoth, the dragons in the Crystal Tower, and Hydra have different encounter rates than all the other “rare” monsters. KB is 1%, and the dragons and Hydra are listed as 5%. I point this out because in the case of Hydra specifically, I imagine this makes it much more difficult to find. Also, these monsters can point to clues as to how encounter rates work in terms of RNG or… whatever.
Full disclo: I’m just some nerd playing a video game. I know jack and shit about coding. Some of the tags may or may not be a silly joke.
I’ve been relying on these three walkthroughs (in order of how much I’ve been referencing them on this playthrough):
https://gamefaqs.gamespot.com/ds/924897-final-fantasy-iii/faqs/50148
https://steamcommunity.com/sharedfiles/filedetails/?id=1777921878
https://steamcommunity.com/sharedfiles/filedetails/?id=3301287255&searchtext=Cave+of+Shadows
